How to Create a Video from a Single Image with AI
People often assume that making a video requires a camera, a script, and hours of editing. But a single still image can be enough to start with. AI tools now let you turn a static photograph or illustration into a short clip that shows movement, keeps the same subject, and even adds audio that fits the scene. The process is surprisingly direct once you know what each step involves.
This article explains how that transformation works, what to look for in a tool, and what kind of results you can expect. The focus is on practical understanding, not technical jargon, so you can decide whether this approach fits your own projects.
What happens when you feed an image into a video generator
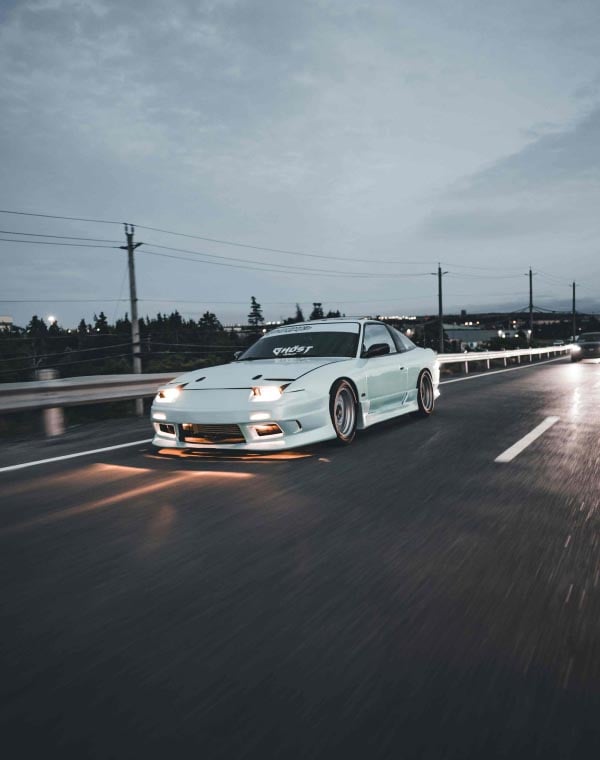
At its simplest, the software takes your picture and decides what should move. It might make a person's hair sway, push clouds across a sky, or animate a car driving along a road. The hard part is keeping everything else consistent while only certain parts change. A good tool will hold the shape, colour, and texture of the original image so the video does not look like a glitchy animation.
The technology behind this is a type of neural network trained on many pairs of still images and their matching video clips. It learns what natural motion looks like for different scenes. When you give it a new picture, it predicts what the next frames should be. The result is a short video, often a few seconds long, that loops or plays once.
Why temporal consistency matters
One of the biggest challenges in this field is temporal consistency. That means the subject should not flicker, warp, or change colour from one frame to the next. If you have a person standing in front of a wall, the wall should stay the same shade, and the person should not suddenly grow a third arm. Early versions of these tools often failed here, producing videos that felt more like a glitchy slideshow than real motion.
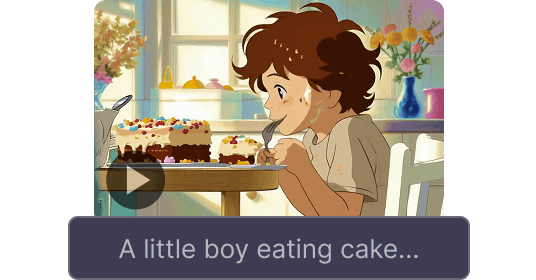
Modern systems handle this better by processing multiple frames at once and keeping a memory of the previous frame's features. The trade-off is speed. More consistency usually means longer processing time. Some tools let you adjust a setting for motion intensity, so you can choose between a subtle, stable result and a more dramatic, but possibly less stable, animation.
Style preservation and what it means for your image
Style preservation is another key factor. If you upload a watercolour painting, you want the resulting video to keep that painted look. The motion should not make it look like a photograph. Similarly, a black-and-white portrait should stay monochrome. Good tools let you choose how much of the original style to keep. Some apply a style transfer step before generating motion, which can help but may also soften fine details.
When the tool fails to preserve style, you get a video that looks like a different medium. A pencil sketch might turn into a grainy colour clip. Checking examples from a tool before you commit will save you time. Most platforms show sample outputs on their site or allow you to run a few tests for free.
Cinematic audio adds atmosphere
Some video generators now include cinematic audio. They analyse the scene and pick or generate a soundtrack that matches the mood. A serene landscape might get gentle ambient music, while a busy street scene could get city sounds. This is an optional feature, but it can make the final clip feel more polished. If you plan to use the video for social media, having audio already synced saves a separate editing step.
Audio generation is not perfect. The tool may pick a track that clashes with your intended tone. The best approach is to generate the video first without sound, review it, then add audio separately if the tool's suggestion does not fit. Many platforms let you toggle audio on and off, so you can compare.
The role of image prompting in getting good results
Image prompting is the technique of giving a short text description alongside your picture. For example, you upload a photo of a cat and write "cat walking slowly". The tool uses both the image and the text to decide what motion to create. This can dramatically improve the relevance of the output. Without a prompt, the tool guesses what should move. With a prompt, it follows your direction.
Prompt quality matters. Be specific about the action and the speed. "Waves crashing on a beach at sunset" will give a different result than "calm sea under a grey sky". The more detail you provide, the more control you have. But keep the prompt short enough that the tool does not get confused by conflicting instructions.
Short video output and what you can do with it
The output from these tools is typically a short video, between two and ten seconds long. That is enough for a social media post, a product teaser, or a background loop on a website. You can also stitch multiple short clips together in a video editor to make a longer sequence. The file format is usually MP4 or GIF, both widely supported.
Because the clips are short, they work well for platforms that autoplay loops, like Instagram or TikTok. The motion catches the eye more than a static image, which can improve engagement. For e-commerce, showing a product with subtle movement, like a jacket swaying on a hanger, can give a better sense of material and fit than a still photo.
Practical tips for your first attempt
If you are trying this for the first time, start with a simple image. A clear subject on a plain background will give the best results. Complex scenes with many objects and textures can confuse the generator and lead to artefacts. Once you see how the tool handles simple images, you can experiment with more complex ones.
Pay attention to the resolution of your input. Higher resolution images tend to produce cleaner videos, but they also take longer to process. A good rule is to use an image that is at least 1024 by 1024 pixels. Anything smaller may lose detail when the tool scales it up for the video frames.
Expect to run the same image a few times with different settings. The process is not deterministic. Changing the seed or the motion strength can give very different outputs. Keep notes on what settings worked so you can repeat them later.
One common mistake is to expect a long sequence. The current technology is designed for short clips. If you need a longer video, generate several clips from the same image and join them. Some tools offer a loop mode that blends the end of the clip back to the start, making the motion appear continuous.
Where the technology is heading
The field of image to video generation is moving fast. Researchers are working on longer outputs, better temporal consistency, and more precise control over which parts of the image move. Some models can now animate a single figure in a complex scene without distorting the background. Others let you draw a path for an object to follow, like a car moving along a road you mark.
As the tools improve, the gap between a still image and a full video will shrink. For now, the technology is best used as a creative assistant. It can turn a good photo into an eye-catching clip in minutes. It is not yet a replacement for traditional video production, but it is a powerful addition to any creator's toolkit.
What to watch out for
- Check the tool's examples before subscribing. Look for consistency in faces and objects across frames.
- Test with your own images. Free trials are common and let you see how your specific kind of content looks.
- Be aware of the output length. If you need a 30-second clip, this approach may not be ready yet.
- Keep your original image safe. The tool will modify it, and you may want to start over from the original.
- Use descriptive prompts. The text you provide is as important as the image itself.
Whether you are a marketer, an artist, or just someone curious about new creative tools, trying an image-to-video generator is straightforward. The process is simple enough to learn in one session, and the results can surprise you. Start with a clear image, write a short prompt, and see what motion the tool creates. That first test will tell you more than any description.